Near Burkittsville in Frederick County, Maryland — The American Northeast (Mid-Atlantic)
Crampton’s Pass Tablet C.P. 3
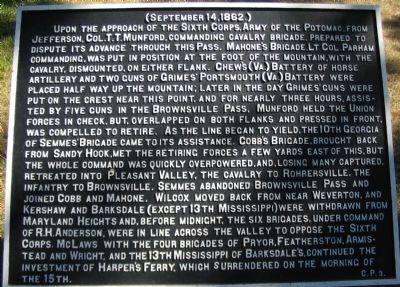
Upon the approach of the Sixth Corps, Army of the Potomac, from Jefferson, Col. T. T. Munford, Commanding Cavalry Brigade, prepared to dispute its advance through this Pass. Mahone’s Brigade, Lt. Col. Parham, Commanding, was put in position at the foot of the mountain, with the Cavalry, dismounted, on either flank. Chew’s (Va.) Battery of Horse Artillery and two guns of Grimes’ Portsmouth (Va.) Battery were placed half way up the mountain; later in the day Grimes’ guns were put on the crest near this point, and for nearly three hours, assisted by five guns in the Brownsville Pass, Munford held the Union forces in check, but, overlapped on both flanks and pressed in front, was compelled to retire. As the line began to yield, the 10th Georgia of Semmes’ Brigade came to its assistance. Cobb’s Brigade brought back from Sandy Hook, met the retiring forces a few yards east of this, but the whole Command was quickly overpowered, and losing many captured, retreated into Pleasant Valley, the Cavalry to Rohrersville, the Infantry to Brownsville. Semmes abandoned Brownsville Pass and joined Cobb and Mahone. Wilcox moved back from near Weverton, and Kershaw and Barksdale (except 13th Mississippi) were withdrawn from Maryland Heights and, before midnight, the six Brigades, under command of R. H. Anderson, were in line across the Valley to oppose the Sixth Corps. McLaws with the four Brigades of Pryor, Featherstone, Armistead and Wright, and the 13th Mississippi of Barksdale’s continued the investment of Harpers Ferry, which surrendered on the morning of the 15th.
Erected by Antietam Battlefield Board. (Marker Number C.P. 3.)
Topics and series. This historical marker is listed in this topic list: War, US Civil. In addition, it is included in the Antietam Campaign War Department Markers series list.
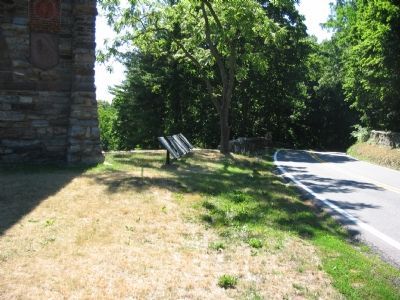
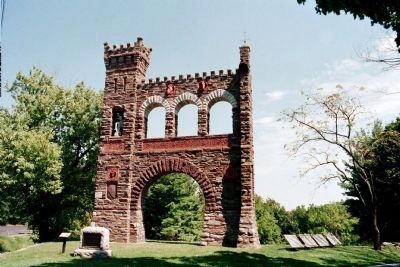
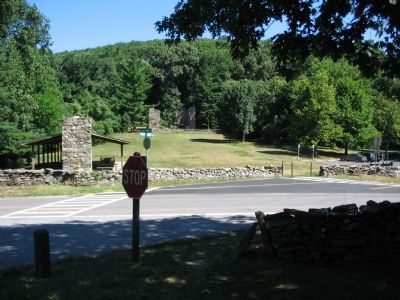
Location. 39° 24.346′ N, 77° 38.354′ W. Marker is near Burkittsville, Maryland, in Frederick County. Marker is at the intersection of Gapland Road and Arnoldstown Road, on the right when traveling west on Gapland Road. Marker is at the foot of the War Correspondence Memorial Arch. Touch for map. Marker is in this post office area: Burkittsville MD 21718, United States of America. Touch for directions.
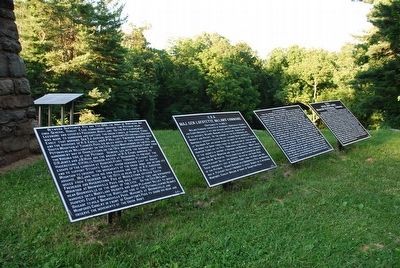
Other nearby markers. At least 8 other markers are within walking distance of this marker. Crampton’s Pass Tablet C.P. 1 (here, next to this marker); Maj. Gen. Lafayette McLaws' Command (here, next to this marker); Sixth Army Corps (here, next to this marker); First New Jersey Brigade (here, next to this marker); War Correspondents (here, next to this marker); The Battle of South Mountain (here, next to this marker); War Correspondents Memorial Arch (a few steps from this marker); The Battle of Crampton's Gap (a few steps from this marker). Touch for a list and map of all markers in Burkittsville.
More about this marker. One of nine markers reported by the Antietam Battlefield Board as erected at Crampton’s Pass in the report dated 1898. Four are at the War Correspondence Memorial Arch, the remainder were placed between the Pass and Burkittsville to the east.(Source: George R. Large and Joe A. Swisher, “Battle of Antietam: The Official History by the Antietam Battlefield Board”)
Credits. This page was last revised on June 16, 2016. It was originally submitted on August 8, 2007, by Craig Swain of Leesburg, Virginia. This page has been viewed 2,030 times since then and 13 times this year. Photos: 1, 2. submitted on August 8, 2007, by Craig Swain of Leesburg, Virginia. 3. submitted on November 29, 2008, by Mike Stroud of Bluffton, South Carolina. 4. submitted on August 9, 2015, by Brandon Fletcher of Chattanooga, Tennessee. 5. submitted on August 8, 2007, by Craig Swain of Leesburg, Virginia. • J. J. Prats was the editor who published this page.
