Near Gulf Shores in Baldwin County, Alabama — The American South (East South Central)
The Battle of Mobile Bay
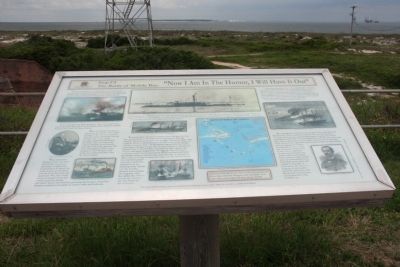
“Now I Am In The Humor, I Will Have It Out!”
— Civil War Trail, Battle for Mobile Bay —
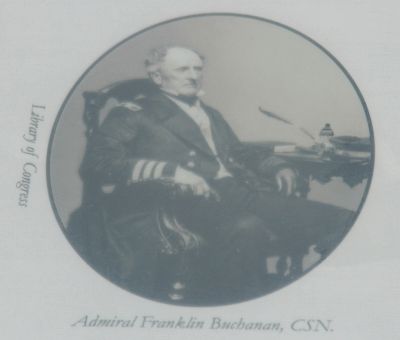
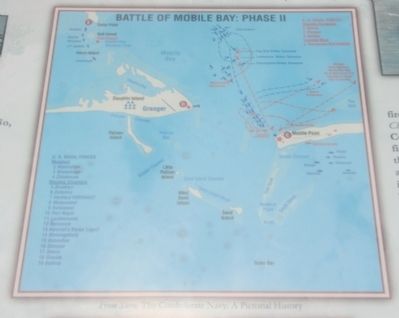
As the Hartford and Brooklyn steamed into the lower bay, the Tennessee tried to ram both in succession but was too slow and had to let them pass. Admiral Buchanan then exchanged broadsides with the rest of Admiral Farragut’s ships as they ran into the Bay.
At the same time, the Rebel gunboats Selma, Gaines, and Morgan, retreating up the Bay before the advancing ships, imposed a galling fire upon the enemy for fifteen minutes.
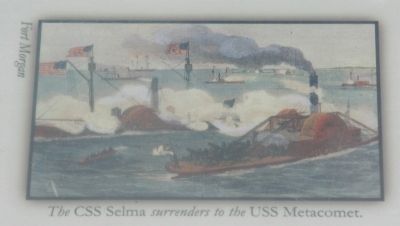
When the Federals won space to maneuver, the course of the battle changed. The Metacomet, cut loose from the Hartford, chased the Selma up the Bay. The Gaines, badly damaged, hauled off, followed by the Morgan. The Selma resisted the Metacomet valiantly but soon had to surrender to the Union gunboat. The Gaines, attempting to shelter under the guns of Fort Morgan, sank before she could reach safety. Only the Morgan escaped.
When Lieutenant Murphy of the Selma went aboard the Metacomet to surrender, he offered her commander, J. E. Jouett, his sword. Jouett, an old friend, took the sword hurriedly and exclaimed, “Pat, don’t make a fool of yourself. I have had a bottle on ice for the last half hour!” Jouett, who had been planning this for days, treated his friend to a sumptuous breakfast of oysters, crabs, and beefsteaks.
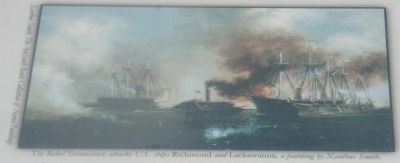
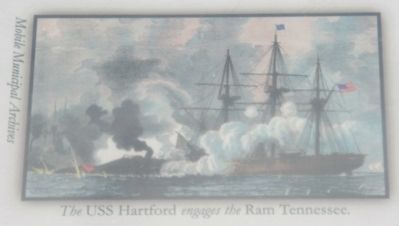
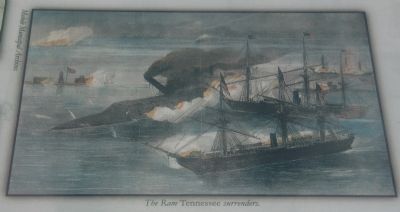
Buchanan drew off and returned to Fort Morgan, having done much harm to the Federals but taking little damage himself. Advised not to renew the struggle, Buchanan said, “No I will be killed or taken prisoner, and now I am in the humor, I will have it out at once.” As Buchanan approached the Union anchorage, Farragut, aware that he must capture or destroy the monster ram or lose the Bay, scrambled his fleet against the Tennessee and again jumped into the rigging. The Monongahela, Lackawanna, and Hartford rammed the Rebel ironclad and fired broadsides at her in vain but did much damage to themselves. The Lackawanna “tore to atoms her solid oak bow for six feet as if it had been paper” and took a shell that exploded on her berthing deck, wiping out the powder division and catching the magazine afire. But before the Tennessee struck the Hartford, she was beset by the Manhattan.
[Splinters were pieces of wood or iron knocked loose from ships and sent flying by shot and shell. They were often quite large and were always deadly.]
“…A hideous-looking monster came creeping up on our port side, whose slowly revolving turret revealed the cavernous depth of a mammoth gun. ‘Stand clear of the port side!’ I shouted. A moment after, a thundering report shook us all, while a blast of dense, sumptuous smoke covered our portholes, and 440 pounds of iron, impelled by 60 pounds of powder, admitted daylight through our side where, before it struck us, there had been over two feet of solid wood, covered with five inches of solid iron.”
Lieutenant A. D. Wharton, aboard the Tennessee
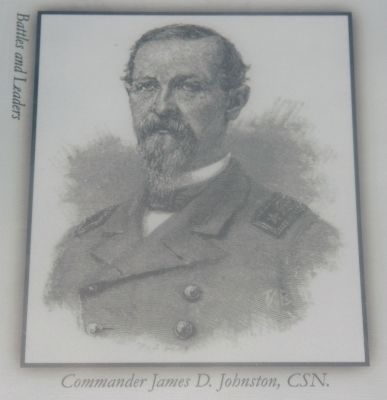
After hitting the Hartford, the ram turned to the south and took fire from the Brooklyn and the Lackawanna. By now the monitors Chickasaw and Winnebago came up and began banging away at the Confederate ship. The Chickasaw, firing solid and steel shot from only fifty yards away, hit the Tennessee’s stern casement eleven times in thirty minutes. Iron splinters went flying through the ship, killing and wounding several men, including Buchanan, whose leg was broken. Four of ten of the Tennessee’s gun port shutters were jammed, her smoke stack was knocked down, and her rudder chains were cut. Surrounded by no fewer than seven ships and unable to steer, fire or even move, the Tennessee’s Captain, Commander James D. Johnston, with Buchanan’s permission, surrendered his ship at 10:00 a.m.
Erected by Mobile Bay Convention and Visitors Bureau. (Marker Number Stop C2.)
Topics. This historical marker is
listed in this topic list: War, US Civil.
Location. 30° 13.688′ N, 88° 1.404′ W. Marker is near Gulf Shores, Alabama, in Baldwin County. Marker can be reached from Fort Morgan Road (State Highway 180) 1.7 miles west of Dune Drive. Located in Fort Morgan State Historic Park. Touch for map. Marker is at or near this postal address: 51 Highway 180 West, Gulf Shores AL 36542, United States of America. Touch for directions.
Other nearby markers. At least 8 other markers are within walking distance of this marker. A different marker also named The Battle of Mobile Bay (here, next to this marker); Panama Mount (here, next to this marker); a different marker also named The Battle of Mobile Bay (here, next to this marker); Citadel (1825-1865) (within shouting distance of this marker); The Citadel (within shouting distance of this marker); The Battery Bailey (about 300 feet away, measured in a direct line); Battery Thomas (1898-1917) (about 300 feet away); 6.4” (100 pounder) Parrott Rifle / 7” Brooke Rifle (about 500 feet away). Touch for a list and map of all markers in Gulf Shores.
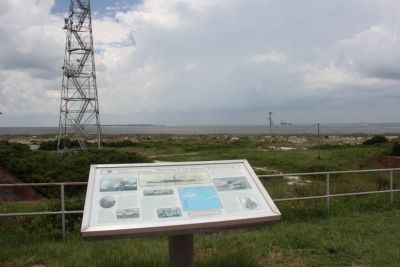
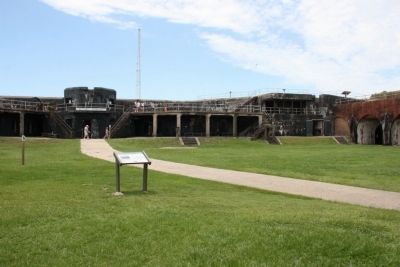
More about this marker. This marker is within the walls of historic Fort Morgan. The marker is located on the top level, west side of Battery Duportail.
Also see . . . Civil War Trail, Battle For Mobile Bay.
(Submitted on October 22, 2013, by Timothy Carr of Birmingham, Alabama.)

Photographed By Timothy Carr, June 19, 2013
7. Center Top Image:
Watercolor of the CSS Tennessee painted by F. Muller, ca. 1900, from a photograph now in the National Archives, courtesy of the U. S. Navy Art Collection, Washington, D. C. "The Tennessee, was an immense, powerful vessel, built under the immediate supervision of the ablest naval architects the South could find. Her sides were almost solid; 24 inches in thickness, over which was casing of iron six inches thick. She carried six rifle guns of the Brooke's patent, throwing a shot 126 lbs. in weight, 7.5" in diameter, and of a conical shape." A Correspondent of the New York Tribune, aboard the USS Oneida (United States Naval Historical Center)
Credits. This page was last revised on July 25, 2018. It was originally submitted on October 22, 2013, by Timothy Carr of Birmingham, Alabama. This page has been viewed 2,185 times since then and 48 times this year. Photos: 1, 2, 3, 4, 5, 6, 7, 8, 9, 10, 11, 12. submitted on October 22, 2013, by Timothy Carr of Birmingham, Alabama. • Bernard Fisher was the editor who published this page.
