How to Obtain the Latitude and Longitude of a Marker
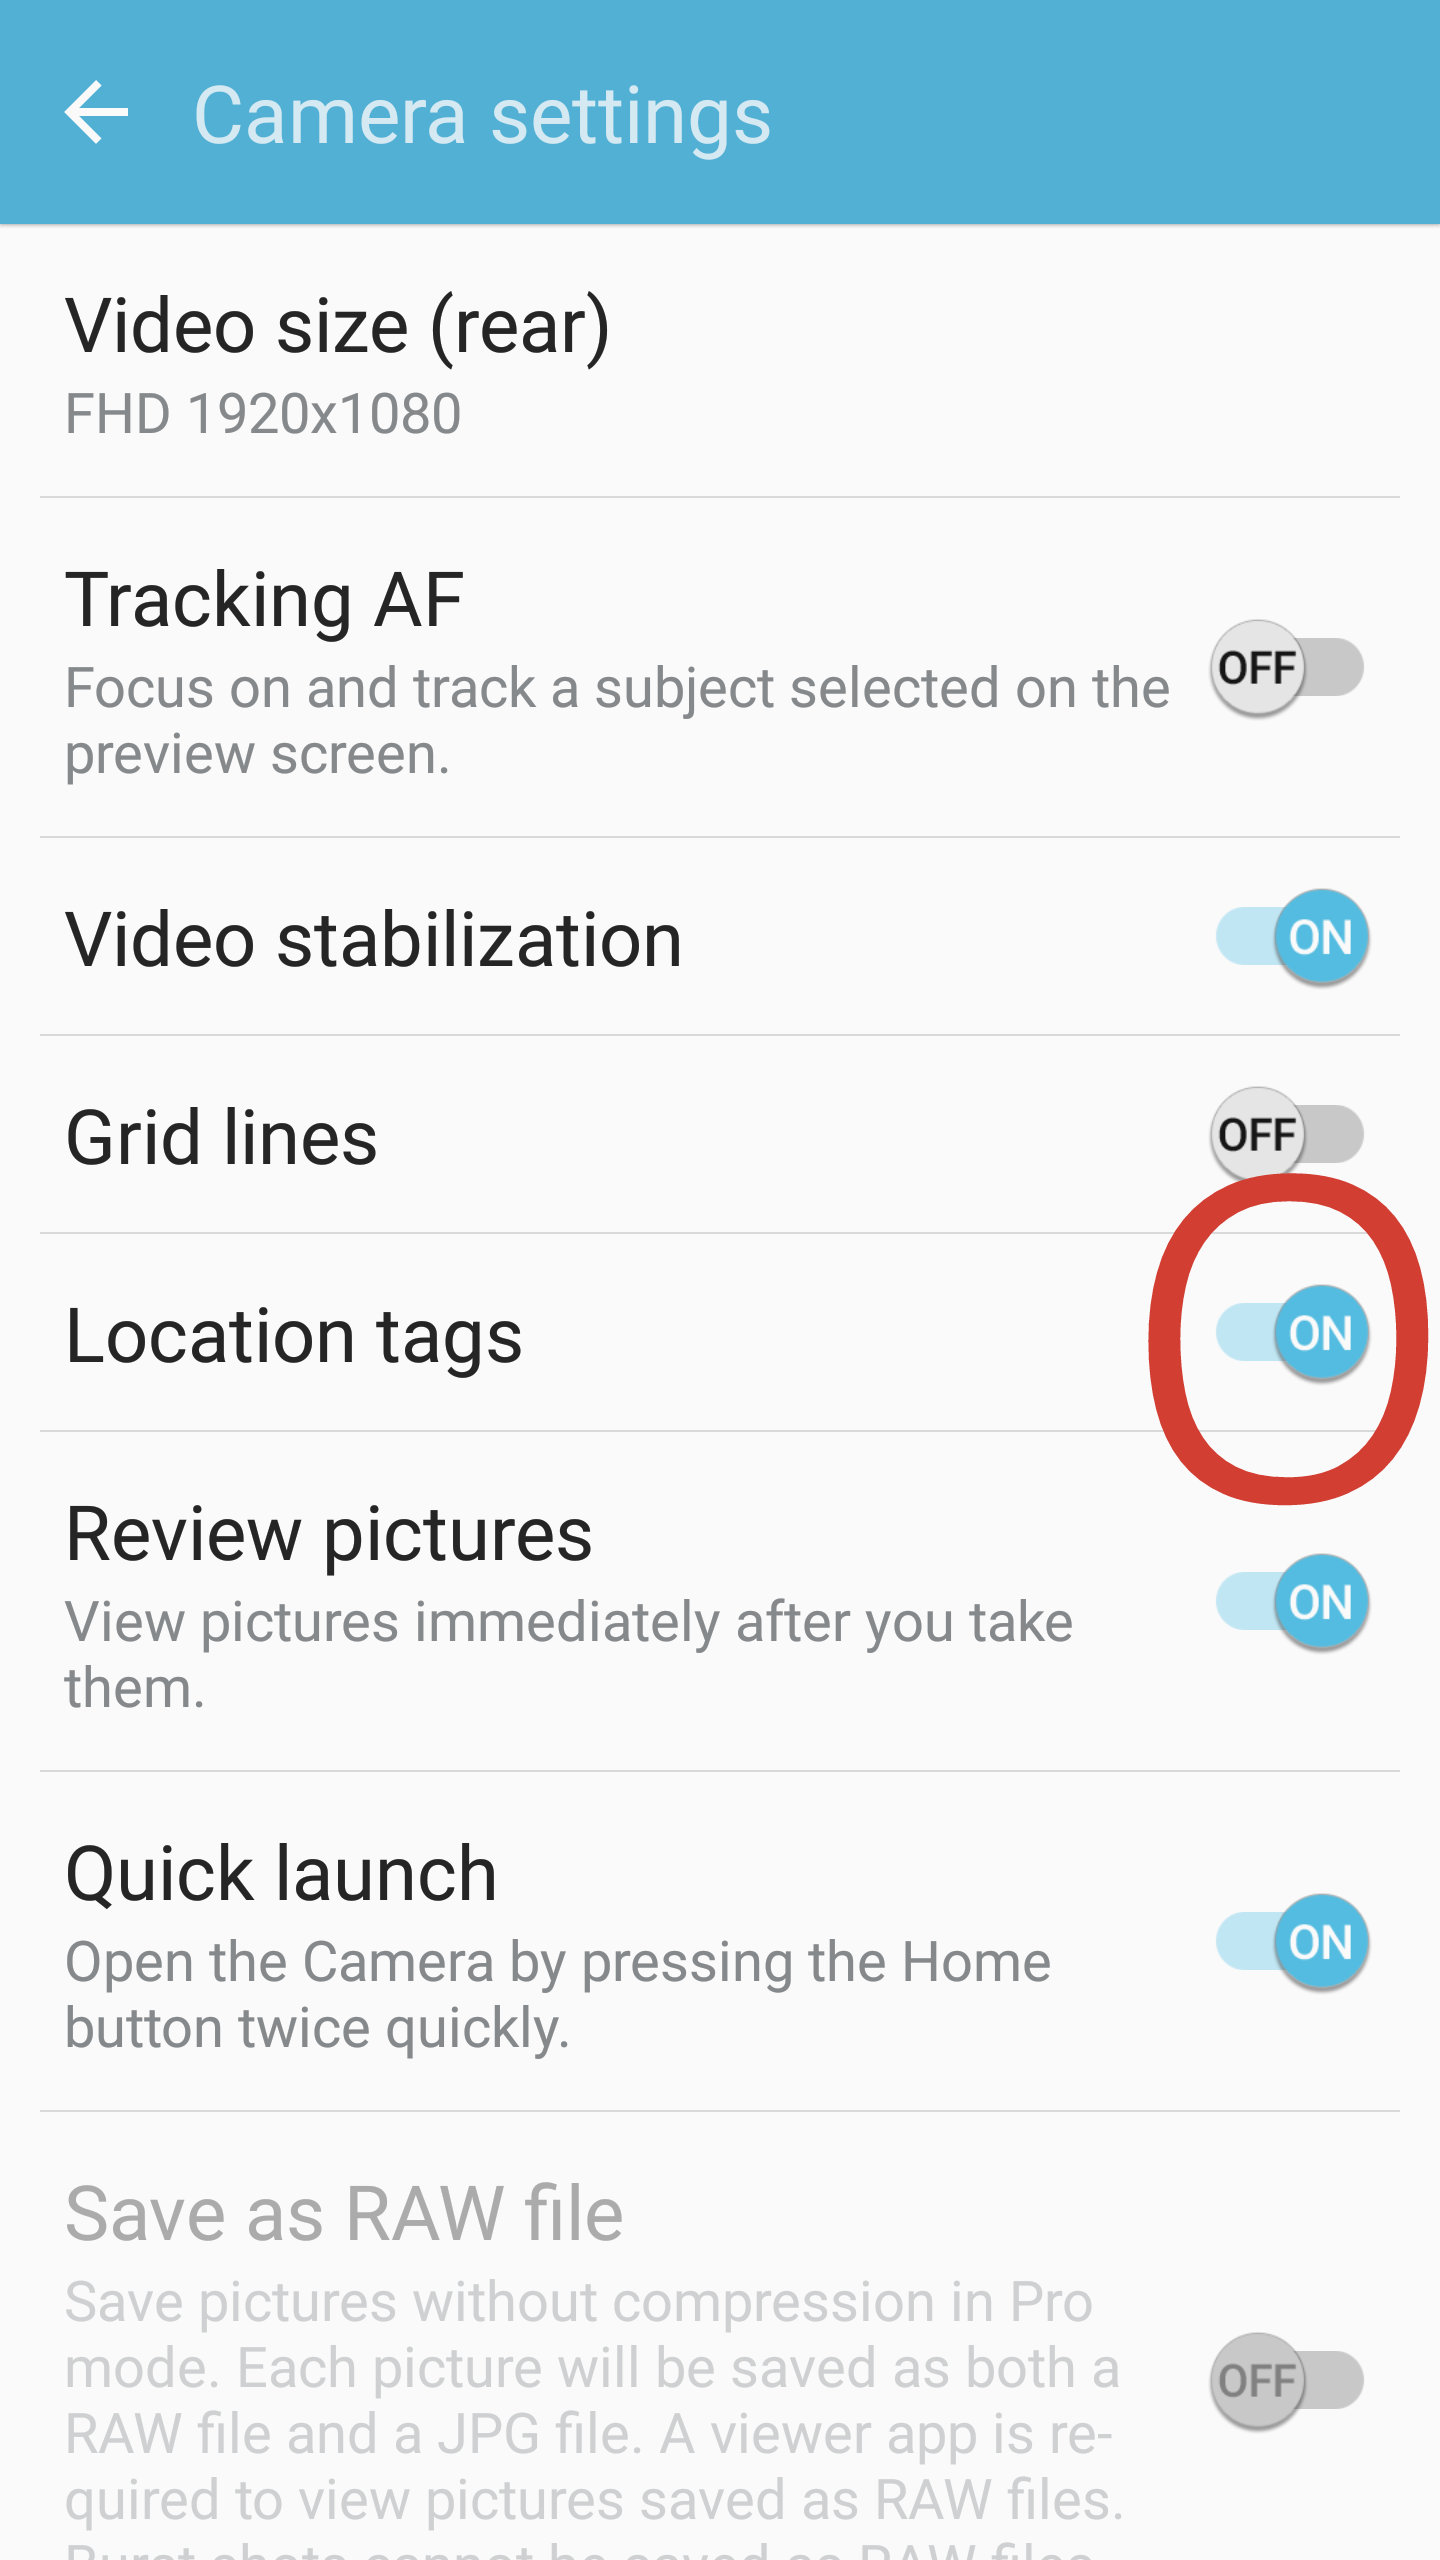
1. Cellphone Camera Screen
A. Let your camera do it for you. Today virtually all cell phone cameras and many dedicated cameras can be set to embed location information in each photograph. You can’t see it on the image but it is in there. If your photos have location information in them, things got real easy for you. Simply leave the latitude and longitude fields blank on the Add-A-Marker form and then when you upload the first photograph, the system will automatically fill the latitude and longitude fields for you. No muss, no fuss.
When you use your photo’s embedded information you should check the map this website creates. Sometimes the camera has not yet figured out where you are when you click the shutter and it will embed the location of where you used to be. Or if you are taking the photo from across the road with your telephoto lens, the maker will be mapped on the wrong side of the road if you don’t intervene. If the location is wrong, you'll have to use method B below to correct the numbers.
B. Use the map we provide and click on the location. The entry form you use to add a marker to the database has a button labeled “Use Map”. Before you click on it, make sure the town and state you entered is correct.
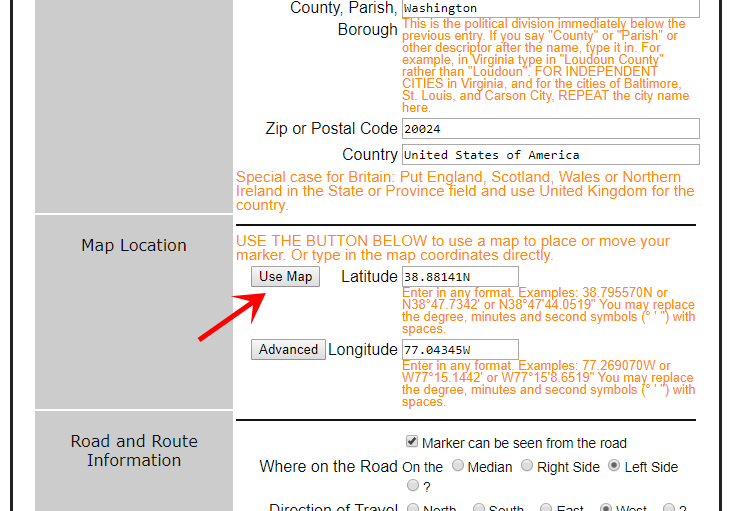
2. Location of the Use Map Button
You can return to the map button as often as you would like and move the location around by clicking again and again until you are satisfied with it.
C. Type in latitude and longitude by hand. You always have this option on the entry form. After you enter the numbers, click on the Use Map button to see if you got it right.
This database stores latitude and longitude as two decimal numbers. The whole number portion is the degrees and the fractional portion of the number is the fraction of degrees. For example, 38.795570N, 77.269070W. However, you can enter it in any notation, such as N 38° 47' 44.0519", W 77° 15' 8.6519" or 38:47:44, -77:15:08 and the system will convert it. (Oh, and you can omit the ° symbol; you won't find it on your keyboard!)
By the way, the minus sign, when present, is very important on a map coordinate number. If you are entering the map coordinates by hand, don't forget to copy it.