Marker Submission Guidelines and Suggestions
First, take a look at the Editorial Guidelines to make sure the historical marker you want to submit will be acceptable.
-
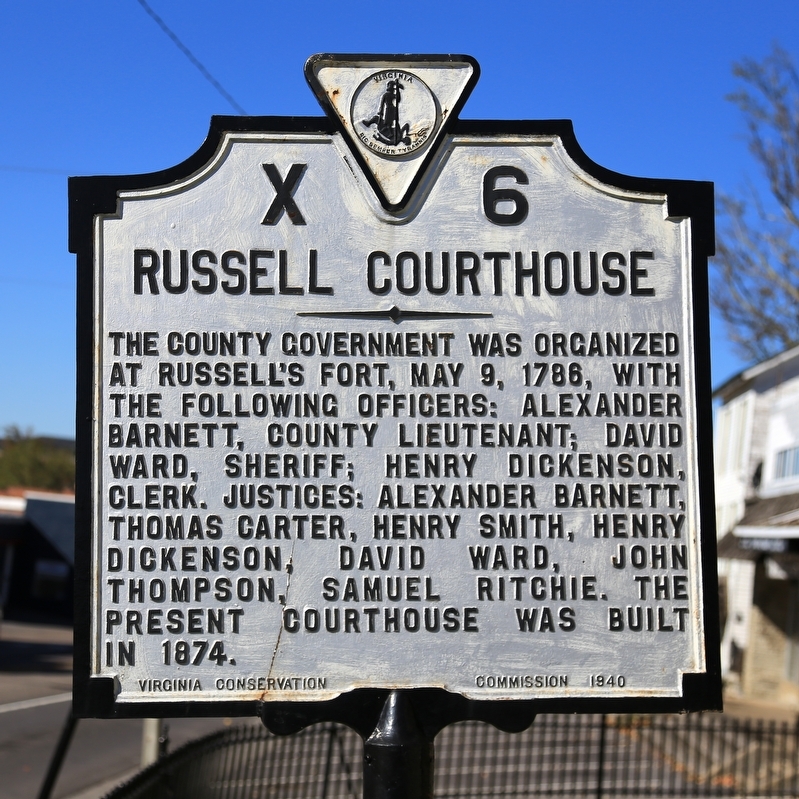
1. Take close-up photo of marker. Make sure the text is readable. Is it well lit? Try not to cut off the edges. Avoid night photos with flash; come back another day if it is too dark.
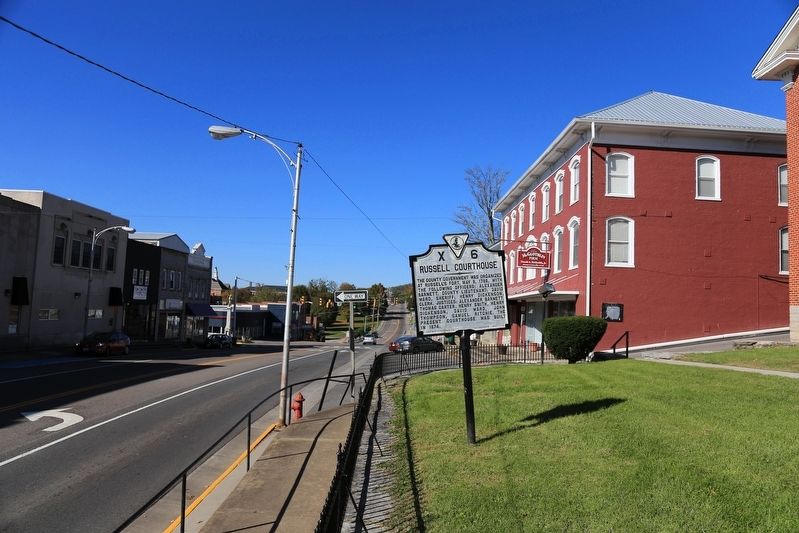
2. Take a wide shot of the marker and its surroundings.
3. Write down the marker’s location: road or street name, nearest town, nearest crossroad, what side of the road is it on, etc.
3b. You will need to place the marker on a map. If your camera or cellphone embeds location information in the photo, our website will automatically use it for latitude and longitude.
3c. Or we'll show you a map for you to zoom in and click to place the marker. Click here for more about latitude and longitude.
4. If possible and appropriate, take one or more photos of the subject described by the marker.
5. Before submitting your marker, make sure it is not already in the database.
Correct or Update By J. J. Prats, October 18, 2015
Step 2 Example: Wide Shot of the Historical Marker
5b. If it is not already in the database, click on Add-A-Marker and get started!
5c. If it is, go to the marker’s page and add better photos, make corrections, or add to the information there by adding commentary.
You’ll be able to see the page for the marker you’ve submitted immediately, and photos, links; and commentary you’ve added will be visible to you right away. But it will not be published for all to see until an editor has reviewed it. This could take a while, depending on the backlog.
6. After submitting your marker, explore the history it relates. Look things up on the Internet. Go to the library. Visit your local historical society. As you find out more, add what you’ve learned to the marker page by adding links, comments, and perhaps additional photographs.

Most importantly, enjoy yourself. Enjoy the outdoors. Enjoy history!
Still have questions? Check our FAQ page and if your questions are not answered there, please feel free to email an editor. Email addresses can be found on the About Us page.