Near Buford in Lancaster County, South Carolina — The American South (South Atlantic)
Buford's Defeat
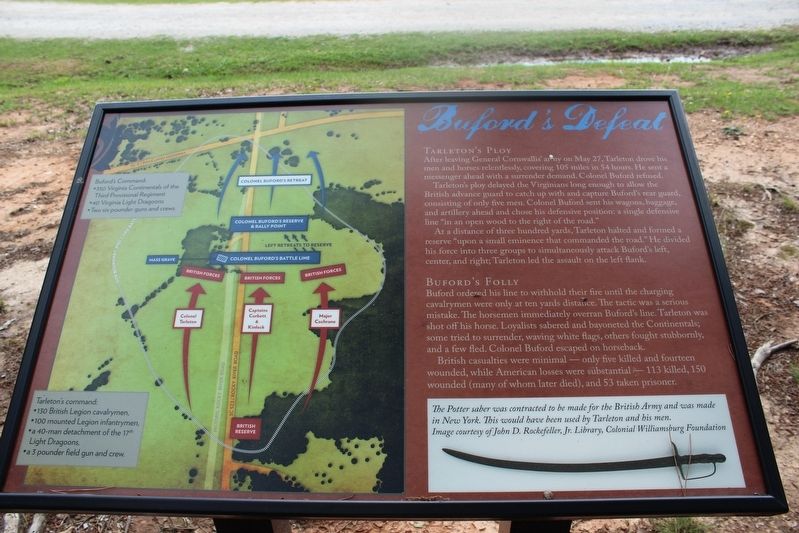
After leaving General Cornwallis' army on May 27, Tarleton drove his men and horses relentlessly, covering 105 miles in 54 hours. He sent a messenger ahead with a surrender demand. Colonel Buford refused.
Tarleton's ploy delayed the Virginians long enough to allow the British advance guard to catch up with and capture Buford's rear guard, consisting of only five men. Colonel Buford sent his wagons, baggage, and artillery ahead and chose his defensive position: a single defensive line "in an open wood to the right of the road."
At a distance of three hundred yards, Tarleton halted and formed a reserve "upon a small eminence that commanded the road."
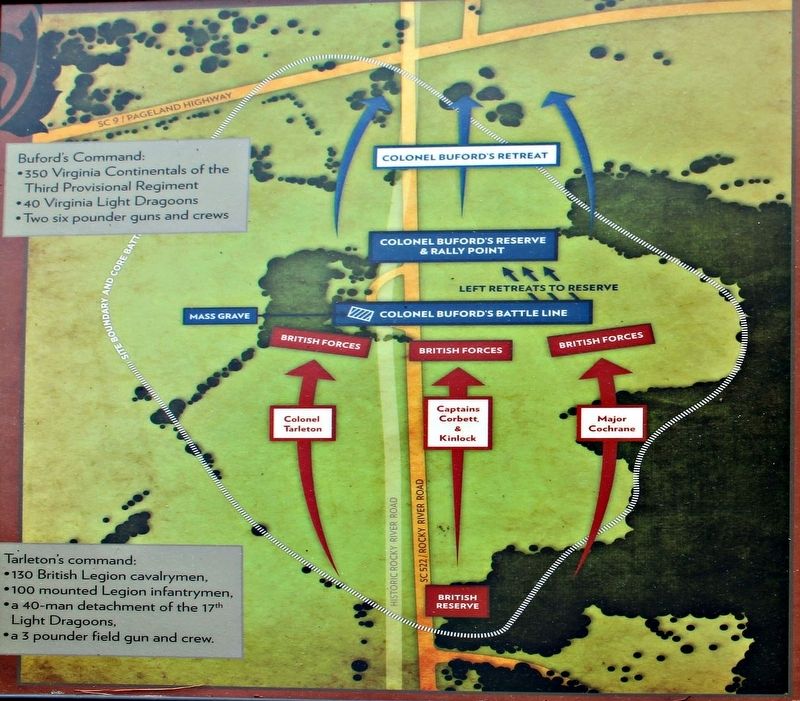
He divided his force into three groups to simultaneously attack Buford's left, center, and right; Tarleton led the assault on the left flank.
Buford's Folly
Buford ordered his line to withhold their fire until the charging cavalrymen were only at ten yards distance. The tactic was a serious mistake. The horsemen immediately overran Buford's line. Tarleton was shot off his horse. Loyalists sabered and bayoneted the Continentals; some tried to surrender, waving white flags, others fought stubbornly, and a few fled. Colonel Buford escaped on horseback.
British casualties were minimal – only five killed and fourteen wounded, while American losses were substantial – 113 killed, 150 wounded (many of whom later died), and 53 taken prisoner.
From map insets:
Buford's Command:
· 350 Virginia Continentals of the Third Provisional Regiment,
· 40 Virginia Light Dragoons,
· Two six-pounder guns and crews.
Tarleton's Command:
· 130 British Legion cavalrymen,
· 100 mounted Legion infantrymen,
· a 40-man detachment of the 17th Light Dragoons,
· a 3 pounder field gun and crew.
Topics. This historical marker is listed in this topic list: War, US Revolutionary. A significant historical date for this entry is May 29, 1780.
Location. 34° 44.513′ N, 80° 37.567′ W. Marker is near Buford, South Carolina, in Lancaster County. Marker can be reached from Rocky River Road (State Highway 522) 0.2 miles south of Pageland Highway (State Highway 9), on the right when traveling south. This marker is located at the Buford Battleground Monument Park (Buford Massacre Site). Touch for map. Marker is in this post office area: Lancaster SC 29720, United States of America. Touch for directions.
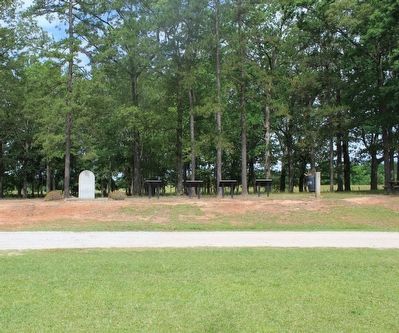
Other nearby markers. At least 8 other markers are within walking distance of this marker. Buford Battleground (here, next to this marker); Disaster in South Carolina (here, next to this marker); Battle of the Waxhaws: Massacre or Myth? (here, next to this marker); Buford's Massacre (a few steps from this marker); Honoring The Fallen (a few steps from this marker); Memorials and Archaeology (within shouting distance of this marker); Buford Monument (within shouting distance of this marker); Buford's Bloody Battleground (approx. 0.2 miles away). Touch for a list and map of all markers in Buford.
More about this marker. The marker is the second of four markers that interpret Buford's Massacre and preservation of the site.
Regarding Buford's Defeat. A photograph at bottom right of a cavalry sword: "The Potter saber was contracted to be made for the British Army and was made in New York. This would have been used by Tarleton and his men." – Image courtesy of John D. Rockefeller, Jr. Library, Colonial Williamsburg Foundation
A battle map is shown at left (see Photo #2).
Credits. This page was last revised on July 2, 2016. It was originally submitted on July 1, 2016, by David Graff of Halifax, Nova Scotia. This page has been viewed 702 times since then and 18 times this year. Photos: 1, 2, 3, 4. submitted on July 1, 2016, by David Graff of Halifax, Nova Scotia.


