Near Four Oaks in Johnston County, North Carolina — The American South (South Atlantic)
March 20th— Johnston Remains on the Battlefield
Inscription.
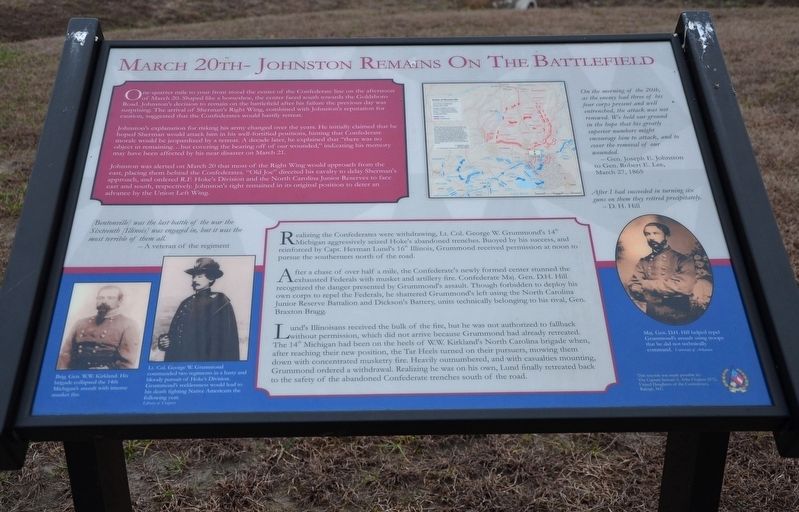
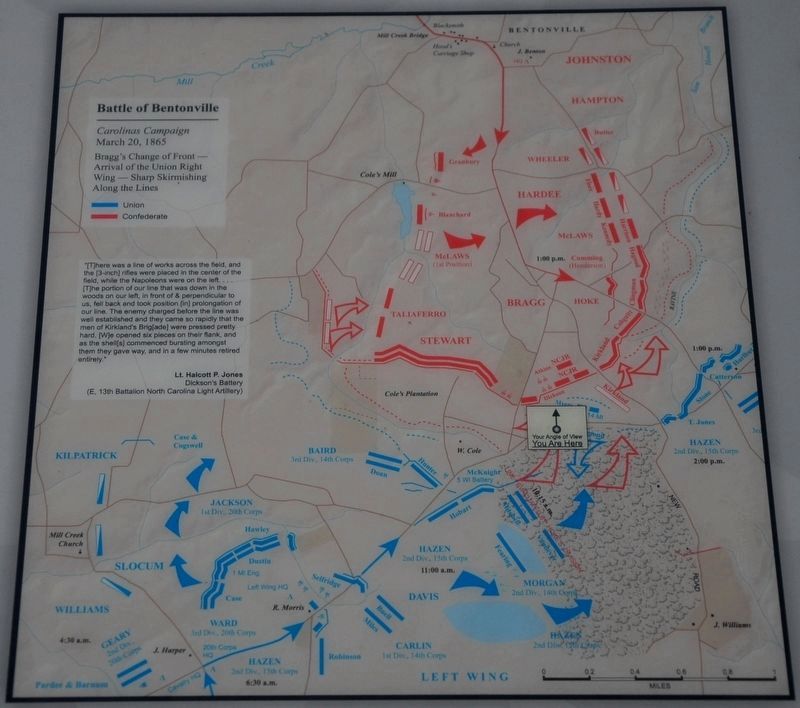
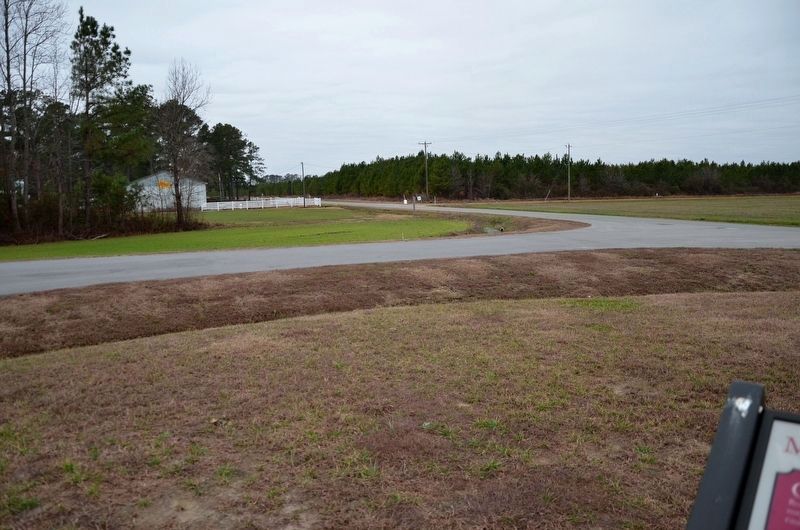
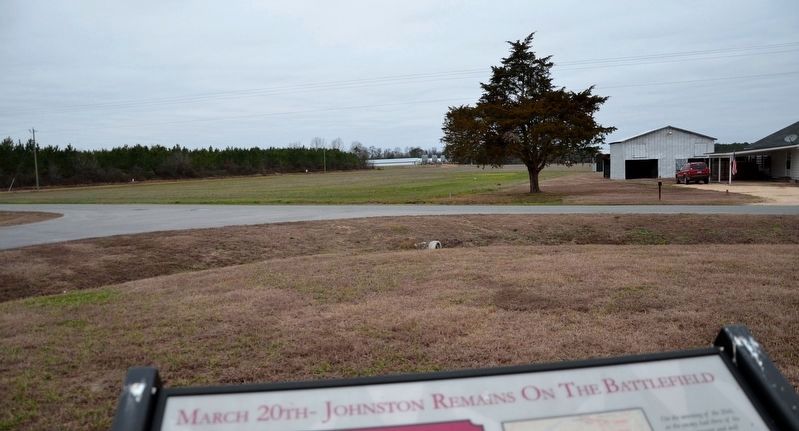
One-quarter mile to your front stood the center of the Confederate line on the afternoon of March 20. Shaped like a horseshoe, the center faced south towards the Goldsboro Road. Johnston's decision to remain on the battlefield after his failure the previous day was surprising. The arrival of Sherman's Right Wing, combined with Johnston's reputation for caution, suggested that the Confederates would hastily retreat.
Johnston's explanation for risking his army changed over the years. He initially claimed that he hoped Sherman would attack him in his well-fortified positions, hinting that Confederate morale would be jeopardized by a retreat. A decade later, he explained that "there was no object in remaining...but covering the bearing off of our wounded," indicating his memory may have been affected by his near disaster on March 21.
Johnston was alerted on March 20 that most of the Right Wing would approach from the east, placing them behind the Confederates. "Old Joe" directed his cavalry to delay Sherman's approach, and ordered R.F. Hoke's Division and the North Carolina Junior Reserves to face east and south, respectively. Johnston's right remained in its original position to deter an advance by the Union Left Wing.
[Bentonville] was the last battle of the war the Sixteenth [Illinois] was engaged in, but it was the most terrible of them all.
—A veteran of the regiment
On the morning of the 20th, as the enemy had three of his four corps present and well entrenched, the attack was not renewed. We held our ground in the hope that his greatly superior numbers might encourage him to attack, and to cover the removal of our wounded.
—Gen. Joseph E. Johnston to Gen. Robert E. Lee, March 27, 1865
Realizing the Confederates were withdrawing, Lt. Col. George W. Grummond's 14th Michigan aggressively seized Hoke's abandoned trenches. Buoyed by his success, and reinforced by Capt. Herman Lund's 16th Illinois, Grummond received permission at noon to pursue the southerners north of the road.
After a chase of over half a mile, the Confederate's newly formed center stunned the exhausted Federals with musket and artillery fire. Confederate Maj. Gen. D.H. Hill recognized the danger presented by Grummond's assault. Though forbidden to deploy his own corps to repel the Federals, he shattered Grummond's left using the North Carolina Junior Reserve Battalion and Dickson's Battery, units technically belonging to his rival, Gen. Braxton Bragg.
Lund's Illinoisans received the bulk of the fire, but he was not authorized to fall back without permission, which did not arrive because Grummond had already retreated. The 14th Michigan had been
on the heels of W.W. Kirkland's North Carolina brigade when, after reaching their new position, the Tar Heels turned on their pursuers, mowing them down with concentrated musketry fire. Heavily outnumbered, and with casualties mounting, Grummond ordered a withdrawal. Realizing he was on his own, Lund finally retreated back to the safety of the abandoned Confederate trenches south of the road.
After I had succeeded in turning six guns on them they retired precipitately.
—D.H. Hill
Topics. This historical marker is listed in this topic list: War, US Civil. A significant historical date for this entry is March 20, 1865.
Location. 35° 19.054′ N, 78° 17.224′ W. Marker is near Four Oaks, North Carolina, in Johnston County. Marker is on Harper House Road (County Route 1008) 0.1 miles west of Westbrook Dairy Road, on the left when traveling west. Marker is located at Auto Tour Stop 5, "The Merging of the Union Armies". Touch for map. Marker is at or near this postal address: 3546 Harper House Rd, Four Oaks NC 27524, United States of America. Touch for directions.
Other nearby markers. At least 8 other markers are within walking distance of this marker. Sherman's Right Wing Arrives at Bentonville (a few steps from this marker); Federal Junction (approx. ¼ mile away); Main Union Line (approx. half a mile away); N.C. Junior Reserves (approx. 0.6 miles away); Merging of the Armies (approx. 0.6 miles
Photographed By Karl Stelly, January 16, 2017
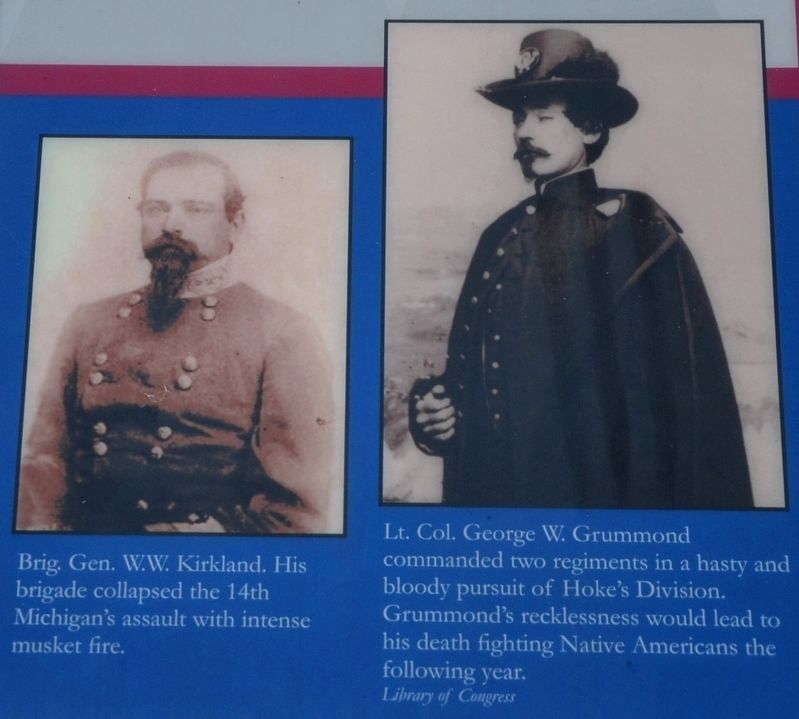
3. Brig. Gen. W.W. Kirkland & Lt. Col. George W. Grummond
Brig. Gen. W.W. Kirkland. His brigade collapsed the 14th Michigan's assault with intense musket fire.
Lt. Col. George W. Grummond commanded two regiments in a hasty and bloody pursuit of Hoke's Division. Grummond's recklessness would lead to his death fighting Native Americans the following year. (Library of Congress)
Photographed By Karl Stelly, January 16, 2017
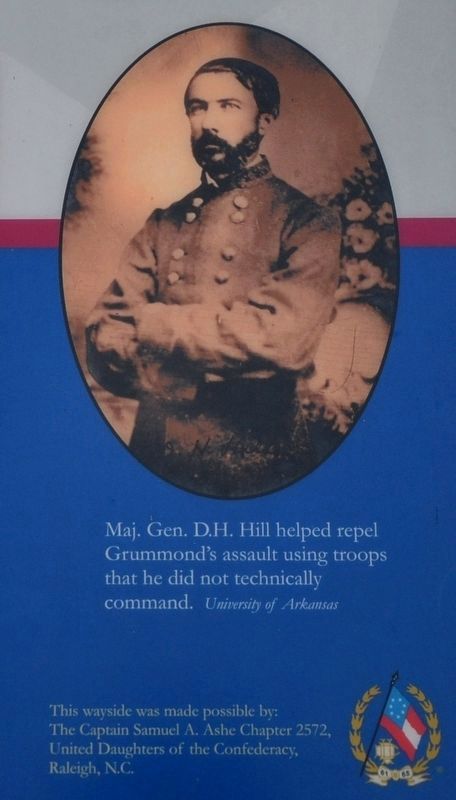
4. Confederate Major General Daniel Harvey Hill
Maj. Gen. D.H. Hill helped repel Grummond's assault using troops that he did not technically command. (University of Arkansas)
(New Paragraph)
This wayside was made possible by:
(New Paragraph)
The Captain Samuel A. Ashe Chapter 2572, United Daughters of the Confederacy, Raleigh, N.C.
Credits. This page was last revised on May 10, 2023. It was originally submitted on January 31, 2017, by Karl Stelly of Gettysburg, Pennsylvania. This page has been viewed 343 times since then and 21 times this year. Last updated on May 9, 2023, by Michael Buckner of Durham, North Carolina. Photos: 1, 2, 3, 4. submitted on January 31, 2017, by Karl Stelly of Gettysburg, Pennsylvania. 5, 6. submitted on February 4, 2017, by Karl Stelly of Gettysburg, Pennsylvania. • Bernard Fisher was the editor who published this page.
