Hanover in York County, Pennsylvania — The American Northeast (Mid-Atlantic)
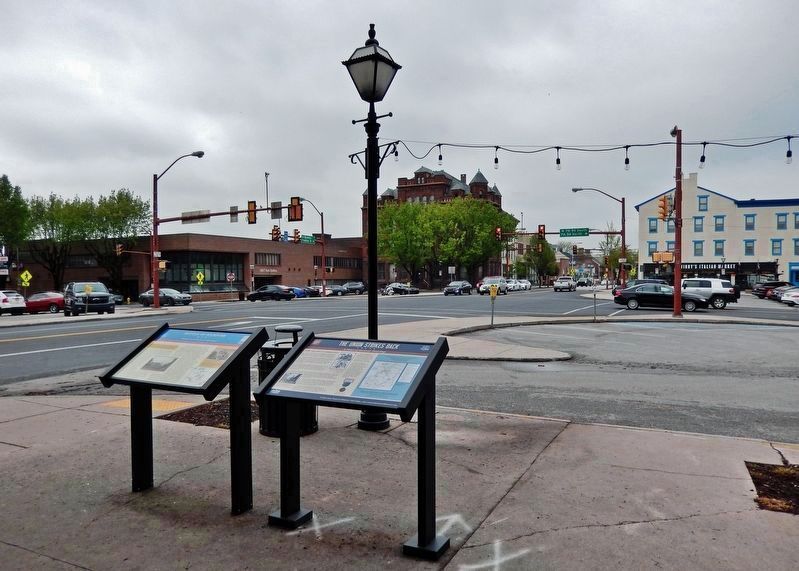
The Union Strikes Back
A Heart of Hanover Trail Stop
The Square is Liberated
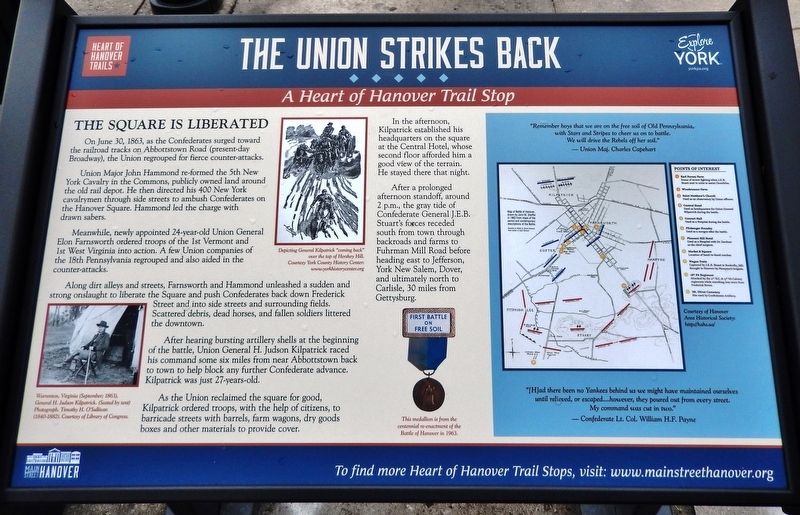
On June 30, 1863, as the Confederates surged toward the railroad tracks on Abbottstown Road (present-day Broadway), the Union regrouped for fierce counter-attacks.
Union Major John Hammond re-formed the 5th New York Cavalry in the Commons, publicly owned land around the old rail depot. He then directed his 400 New York cavalrymen through side streets to ambush Confederates on the Hanover Square. Hammond led the charge with drawn sabers.
Meanwhile, newly appointed 24-year-old Union General Elon Farnsworth ordered troops of the 1st Vermont and 1st West Virginia into action. A few Union companies of the 18th Pennsylvania regrouped and also aided in the counter-attacks.
Along dirt alleys and streets, Farnsworth and Hammond unleashed a sudden and strong onslaught to liberate the Square and push Confederates back down Frederick Street and into side streets and surrounding fields. Scattered debris, dead horses, and fallen soldiers littered the downtown.
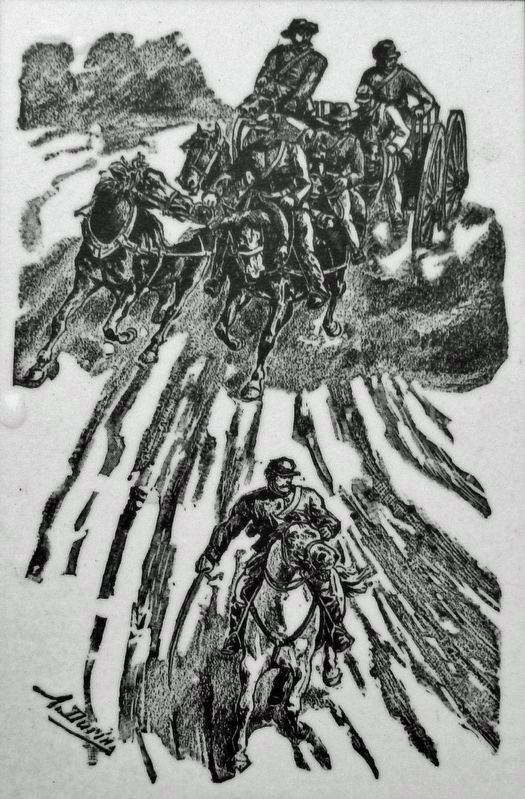
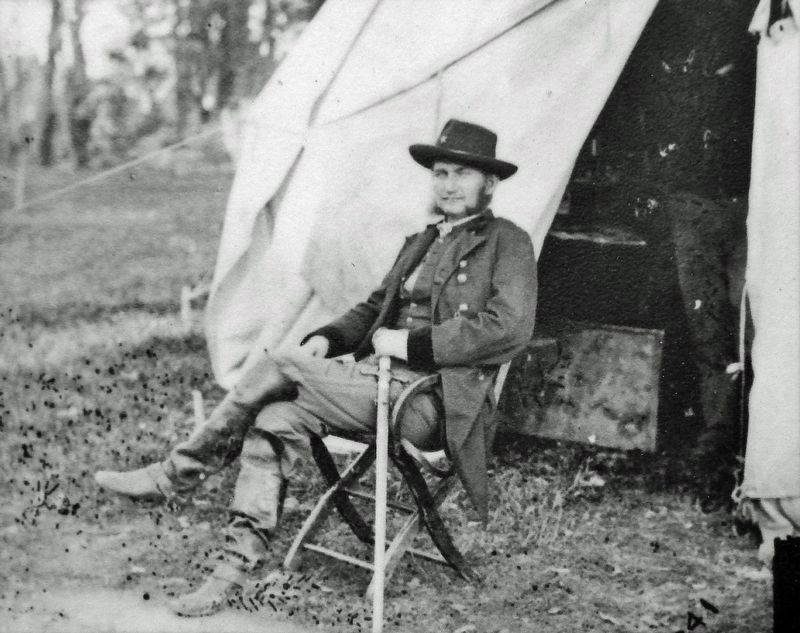
After hearing bursting artillery shells at the beginning of the battle, Union General H. Judson Kilpatrick raced his command some six miles from near Abbottstown back to town to help block any further Confederate advance. Kilpatrick was just 27-years-old.
As the Union reclaimed the square for good, Kilpatrick ordered troops, with the help of citizens, to barricade streets with barrels, farm wagons, dry goods boxes and other materials to provide cover.
In the afternoon, Kilpatrick established his headquarters on the square at the Central Hotel, whose second floor afforded him a good view of the terrain. He stayed there that night.
After a prolonged afternoon standoff, around 2 p.m., the gray tide of Confederate General J.E.B. Stuart's forces receded south from town through backroads and farms to Fuhrman Mill Road before heading east to Jefferson, York New Salem, Dover, and ultimately north to Carlisle, 30 miles from Gettysburg.
"Remember boys that we are on the free soil of Old Pennsylvania, with Stars and Stripes to cheer us on to battle. We will drive the Rebels off her soil."
—Union Maj. Charles Capehart
"[H]ad there been no Yankees behind us we might have maintained ourselves until relieved, or escaped… however, they poured out from every street. My command was cut in two."
—Confederate Lt. Col. William H.F. Payne
Erected 2022 by Main Street Hanover; and Heart of Hanover Trails.
Topics and series. This historical marker is listed in these topic lists: Roads & Vehicles • War, US Civil.
In addition, it is included in the Pennsylvania, Battle of Hanover Walking Tour series list. A significant historical date for this entry is June 30, 1863.
Location. 39° 48.048′ N, 76° 58.985′ W. Marker is in Hanover, Pennsylvania, in York County. Marker is at the intersection of Broadway (Pennsylvania Route 194) and Carlisle Street (Pennsylvania Route 94), on the right when traveling west on Broadway. Marker is located on the northeast corner of the town square. Touch for map. Marker is in this post office area: Hanover PA 17331, United States of America. Touch for directions.
Other nearby markers. At least 8 other markers are within walking distance of this marker. Battle of Hanover (here, next to this marker); a different marker also named Battle of Hanover (here, next to this marker); a different marker also named Battle of Hanover (a few steps from this marker); Market House (within shouting distance of this marker); Hanover's Wounded (within shouting distance of this marker); George Washington (within shouting distance of this marker); General George Armstrong Custer (within shouting distance of this marker); Major General George Armstrong Custer (within shouting distance of this marker). Touch for a list and map of all markers in Hanover.
Related markers. Click here for a list of markers that are related to this marker. Heart of Hanover Trail
Also see . . . The Battle of Hanover
.
The Battle of Hanover was over. Kilpatrick let Stuart go, choosing not to pursue him. He should have attempted to keep in close contact with the Rebels — the patrols he did send out learned nothing. For some strange reason, Kilpatrick felt that a large part of Lee’s army was only about 10 miles away, near East Berlin. Stuart’s raid was nearly over — but the controversy surrounding it was about to begin...(Submitted on May 6, 2022, by Cosmos Mariner of Cape Canaveral, Florida.)

Hanover Area Historical Society
5. Marker detail: Battle of Hanover Map
1 • Karl Forney Farm
Scene of severe fighting when J.E.B. Stuart sent in units to assist Chambliss.
2 • Winebrenner Farm
3 • Saint Matthew's Church
Used as an observatory by Union officers.
4 • Central Hotel
Used as headquarters for Union General Kilpatrick during the battle.
5 • Concert Hall
Used as a Hospital during the battle.
6 • Flickenger Foundry
Used as a morgue after the battle.
7 • Pleasant Hill Hotel
Used as a Hospital with Dr. Gardner as the chief surgeon.
8 • Market & Square
Location of hand-to-hand combat.
9 • Wagon Train
Captured by J.E.B. Stuart in Rockville, MD. Brought to Hanover by Hampton's brigade.
10 • 18th PA Regiment
Attacked by the 2nd N.C. & 13th VA Cavalry regiments while marching into town from Frederick Street.
11 • Mt. Olivet Cemetery
Site used by Confederate Artillery.
Credits. This page was last revised on May 8, 2022. It was originally submitted on May 2, 2022, by Cosmos Mariner of Cape Canaveral, Florida. This page has been viewed 191 times since then and 23 times this year. Photos: 1. submitted on May 2, 2022, by Cosmos Mariner of Cape Canaveral, Florida. 2. submitted on May 5, 2022, by Cosmos Mariner of Cape Canaveral, Florida. 3, 4, 5. submitted on May 6, 2022, by Cosmos Mariner of Cape Canaveral, Florida. 6. submitted on May 5, 2022, by Cosmos Mariner of Cape Canaveral, Florida.
