Near Munfordville in Hart County, Kentucky — The American South (East South Central)
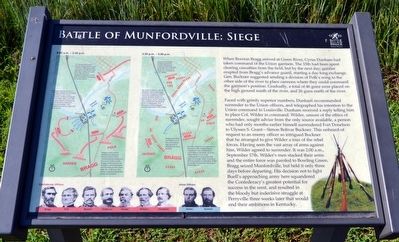
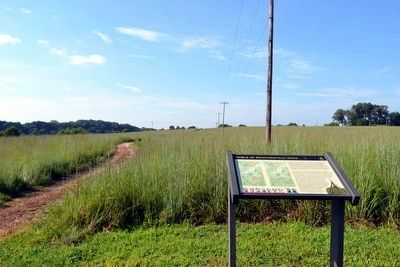
Battle of Munfordville: Siege
Photographed by Duane Hall, August 9, 2015
1. Battle of Munfordville: Siege Marker
When Braxton Bragg arrived at Green River, Cyrus Dunham had taken command of the Union garrison. The 15th had been spent clearing casualties from the field, but by the next day, gunfire erupted from Bragg’s advance guard, starting a day-long exchange. Gen. Buckner suggested sending a division of Polk’s wing to the other side of the river to place cannons where they could command the garrison’s position. Gradually, a total of 46 guns were placed on the high ground south of the river, and 26 guns north of the river.
Faced with grimly superior numbers, Dunham recommended surrender to the Union officers, and telegraphed his intention to the Union command in Louisville. Dunham received a reply telling him to place Col. Wilder in command. Wilder, unsure of the ethics of surrender, sought advice from the only source available, a person who had only months earlier himself surrendered Fort Donelson to Ulysses S. Grant—Simon Bolivar Buckner. This unheard-of request to an enemy officer so intrigued Buckner that he arranged to give Wilder a tour of the rebel forces. Having seen the vast array of arms against him, Wilder agreed
this page online
(caption) Confederate Officers - Bragg • Polk • Buckner • Anderson • Hardee • Withers • Cheatham
Union Officers - Wilder • Dunham
Erected by Battle for the Bridge Historic Preserve.
Topics. This historical marker is listed in this topic list: War, US Civil. A significant historical date for this entry is September 15, 1862.
Location. 37° 15.428′ N, 85° 53.458′ W. Marker is near Munfordville, Kentucky, in Hart County. It can be reached from Charlie Dowling Road 0.3 miles north of South Dixie Highway (U.S. 31W), on the left when traveling north. This marker is no longer accessible.. Touch for map. Marker is in this post office area: Munfordville KY 42765, United States of America. Touch for directions.

Regionally,
Photographed by Duane Hall, August 9, 2015
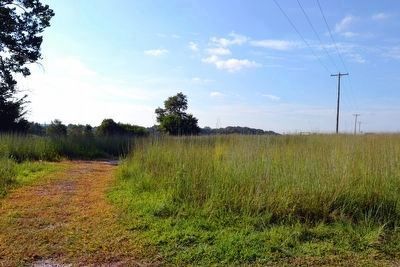
2. Battlefield Loop Trail between Stop 2 and Stop 3
at center right just above the grass line
Other nearby markers. At least 8 other markers are within walking distance of this marker: Battle of Munfordville: Day 1 (about 500 feet away, measured in a direct line); L&N Railroad Bridge (about 600 feet away); Kentucky and the Western War (approx. 0.2 miles away); The Raider (approx. 0.2 miles away); Anthony Woodson Farm (approx. 0.2 miles away); Fort Craig (approx. 0.2 miles away); The Woodson Farm/The Preserve (approx. 0.2 miles away); Col Robt A Smith Monument (approx. ¼ mile away). Touch for a list and map of all markers in Munfordville.
More about this marker. This marker is no longer accessible. It is on private property. Please do not attempt to access it without permission of the property owner. According to a Google Review by Patrica Chapman, "We drove out to the site and all that was there were signs saying 'trails closed'. The stands where you would normally find information and maps were empty and behind a fence with a 'no trespassing' sign."
Also see . . . Battle for the Bridge Historic Preserve.
Photographed by Duane Hall, August 9, 2015
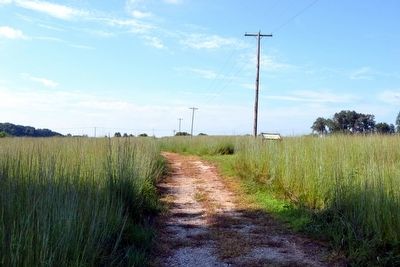
3. View to North Along Battlefield Loop Trail
Photographed by Duane Hall, August 9, 2015
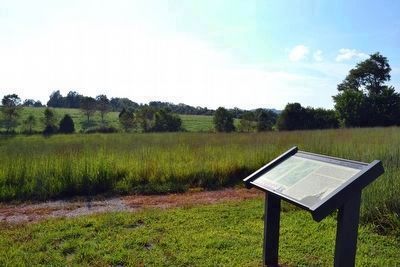
4. View to West Towards Union Stockade and Line
Photographed by Duane Hall, August 9, 2015
5. Continuing Along Battlefield Loop Trail to Stop 4
Credits. This page was last revised on July 4, 2024. It was originally submitted on September 8, 2015. This page has been viewed 1,068 times since then and 39 times this year. Last updated on July 3, 2024. Photos: 1, 2, 3, 4, 5. submitted on September 8, 2015, by Duane Hall of Abilene, Texas. • Bernard Fisher was the editor who published this page.