Banner in Sheridan County, Wyoming — The American West (Mountains)
Two Scenarios: Fetterman Fight, December 21, 1866
Inscription.
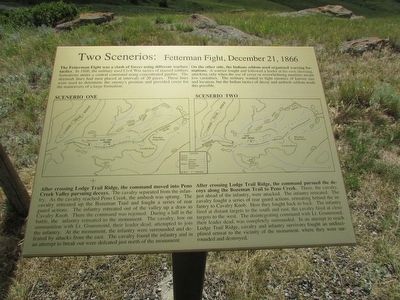
The Fetterman Fight was a clash of forces using different warfare tactics. In 1866, the military used Civil War tactics of massed soldiers formations under a central command using concentrated gunfire. The skirmish lines had men placed at intervals of 20 paces. These lines were used to determine the enemy’s position and provided cover for the maneuvers of a large formation.
Scenario One
After crossing Lodge Trail Ridge, the command moved into Peno Creek Valley pursuing decoys. The cavalry separated from the infantry. As the cavalry reached Peno Creek, the ambush was sprung. The cavalry retreated up the Bozeman Trail and fought a series of rear guard actions. The infantry retreated out of the valley up a draw to Cavalry Knob. There the command was rejoined. During a lull in the battle, the infantry retreated to the monument. The cavalry, low on ammunition with Lt. Grummond, their leader dead, attempted to join the infantry. At the monument, the infantry were surrounded and defeated by attacks from the east. The cavalry found the infantry and in an attempt to break out were defeated just north of the monument.
On the other side, the Indians seldom used organized warring formations. A warrior fought and followed a leader at his own choosing, attacking only when the use of cover or overwhelming numbers meant low casualties. The military wanted to fight enemies of known size and location, but the Indian tactics of decoy and ambush seldom made this possible.
Scenario Two
After crossing Lodge Trail Ridge, the command pursued the decoys along the Bozeman Trail to Peno Creek. There, the cavalry, just ahead of the infantry, were attacked. The infantry retreated. The cavalry fought a series of rear guard actions, retreating behind the infantry to Cavalry Knob. Here they fought back to back. The infantry fired at distant targets to the south and east, the cavalry fired at close targets to the west. The disintegrating command with Lt. Grummond, their leader dead, was completely surrounded. In an attempt to reach Lodge Trail Ridge, cavalry and infantry survivors fought an undisciplined retreat to the vicinity of the monument, where they were surrounded and destroyed.
Topics. This historical marker is listed in these topic lists: Native Americans • Wars, US Indian. A significant historical year for this entry is 1866.
Location. 44° 34.48′ N, 106° 50.479′ W. Marker is in Banner, Wyoming, in Sheridan County. Marker can be reached from Piney Creek Road. Touch for map. Marker is in this post office area: Banner WY 82832, United States of America. Touch for directions.
Other nearby markers. At least 8 other markers are within walking distance of this marker. Weapons of the Fetterman Fight (within shouting distance of this marker); The Combatants: Warriors
(about 300 feet away, measured in a direct line); The Combatants: Soldiers (about 500 feet away); The Bozeman Trail 1863 – 1868 (approx. 0.2 miles away); As an Infantryman . . . (approx. 0.2 miles away); Northern Plains Indian Wars (approx. ¼ mile away); The Discoveries (approx. ¼ mile away); Fetterman Massacre Memorial (approx. ¼ mile away). Touch for a list and map of all markers in Banner.
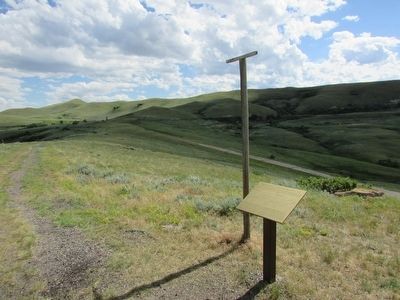
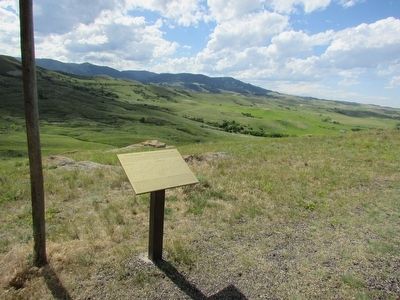
More about this marker. Battle maps of the two scenarios of the Fetterman Fight appear on the marker.
Related markers. Click here for a list of markers that are related to this marker. See all of the markers on the Fetterman Fight Interpretive Trail.
Credits. This page was last revised on September 18, 2020. It was originally submitted on August 21, 2015, by Bill Coughlin of Woodland Park, New Jersey. This page has been viewed 650 times since then and 41 times this year. Photos: 1, 2, 3, 4. submitted on August 21, 2015, by Bill Coughlin of Woodland Park, New Jersey.


